The QGIS Print Composer:
You’ve made a map, now you want to put it on paper!
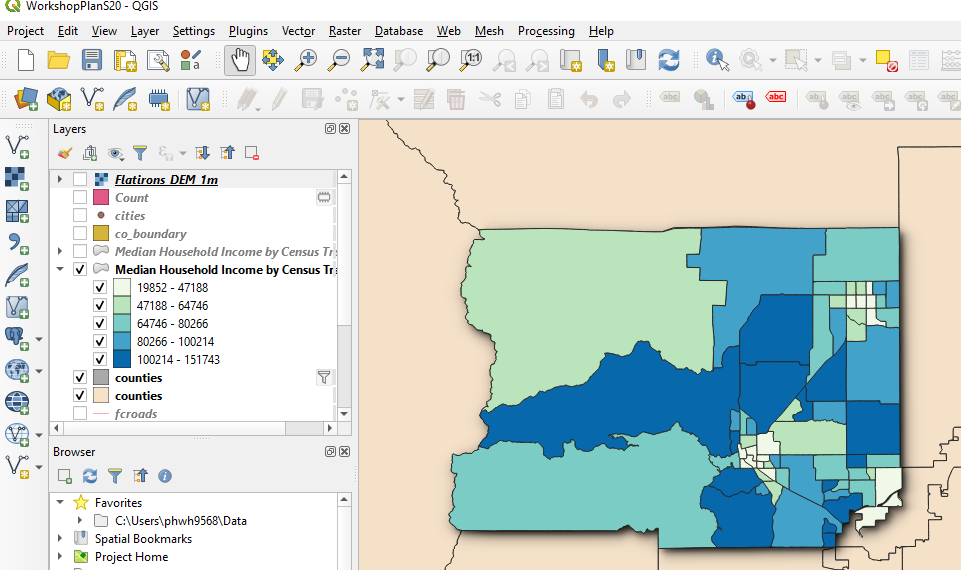
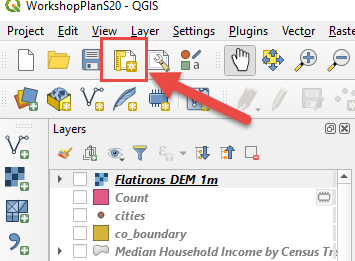
- Start by clicking the New Print Layout button:
-
This will open the Layout interface.
-
To add your map to the page, click the Add New Map tool and draw a box around the area where you want your map to appear:
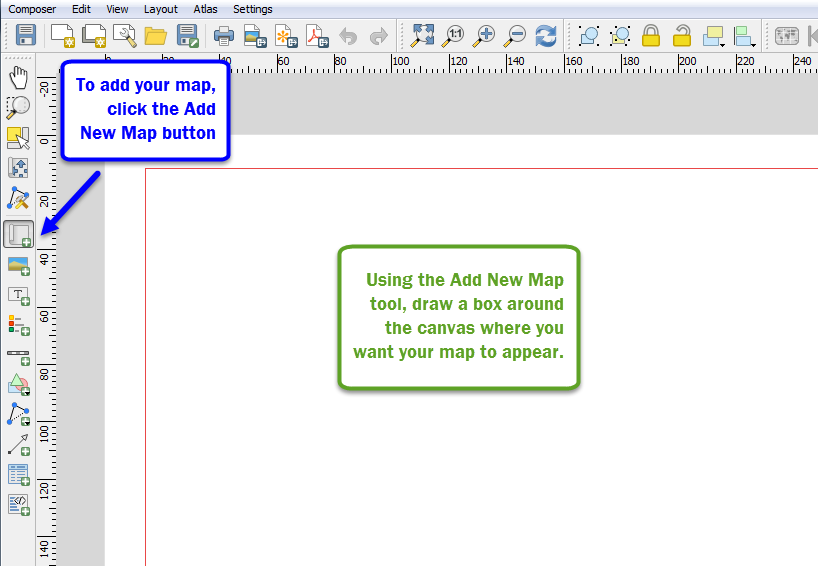
Pro tip: Click and drag from the ruler at top and left to set up snapping guides. This allows you to set your map frame to an exact size.
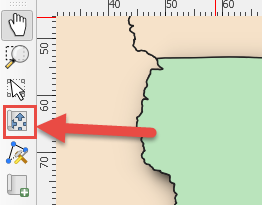
- Use the “Move Item Content” button to adjust the positioning of your map within the frame:
-
Use the Hand tool to pan and zoom around the page (that is, the piece of paper)
-
We recommend the adjusting the scale (zoom) using the scale setting under Item Properties.
-
Add items such as a scale bar, legend, images, or text using the tools in the vertical toolbar at left:
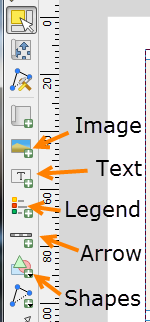
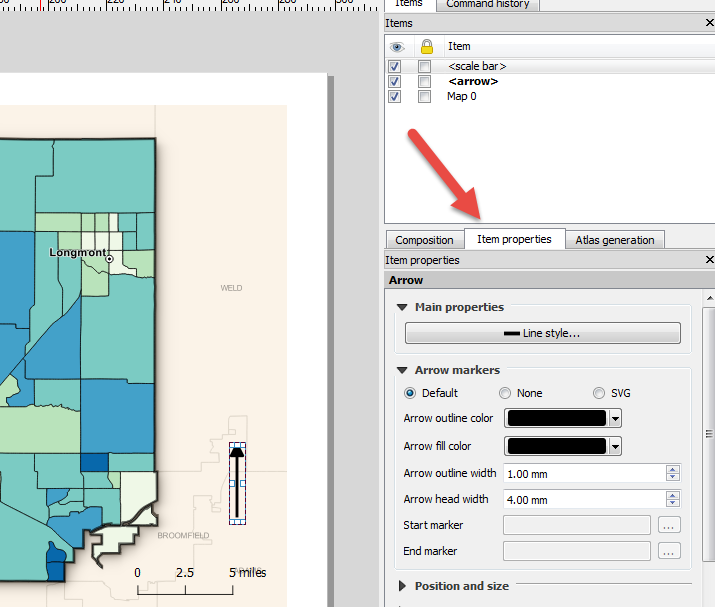
- Much of the fine tuning of the map’s elements will take place in the Item Properties tab in the right hand tool group:
-
Here you can change the type of scale or arrow you want to use, and adjust sizes and shapes to a specific specification.
-
When you’re map is done, you can export it an image, pdf, or scalable vector graphics using the export tools located at top center:
