Introduction to Virtual Reality with A-Frame
Last updated: March 19, 2020
This tutorial will show you how to make your own interactive VR scene using A-Frame.
Setting up a glitch project
1. Go to glitch.com
2. Click on “new project” and select “hello webpage”
3. Go into index.html. You can ignore the other files.
4. Delete all of the default content in index.html
Setting up a basic a-frame scene
5. Start by adding head and body tags. Add the following code to index.html:
<head>
</head>
<body>
</body>
6. Between the head tags, add a link to a-frame:
<head>
<script src="https://aframe.io/releases/0.9.2/aframe.min.js"></script>
</head>
<body>
</body>
7. Between the body tags, add a-frame scene tags:
<head>
<script src="https://aframe.io/releases/0.9.2/aframe.min.js"></script>
</head>
<body>
<a-scene>
</a-scene>
</body>
8. Between the scene tags, add an orange box:
<head>
<script src="https://aframe.io/releases/0.9.2/aframe.min.js"></script>
</head>
<body>
<a-scene>
<a-box color="orange" position="0 0 -4"></a-box>
</a-scene>
</body>
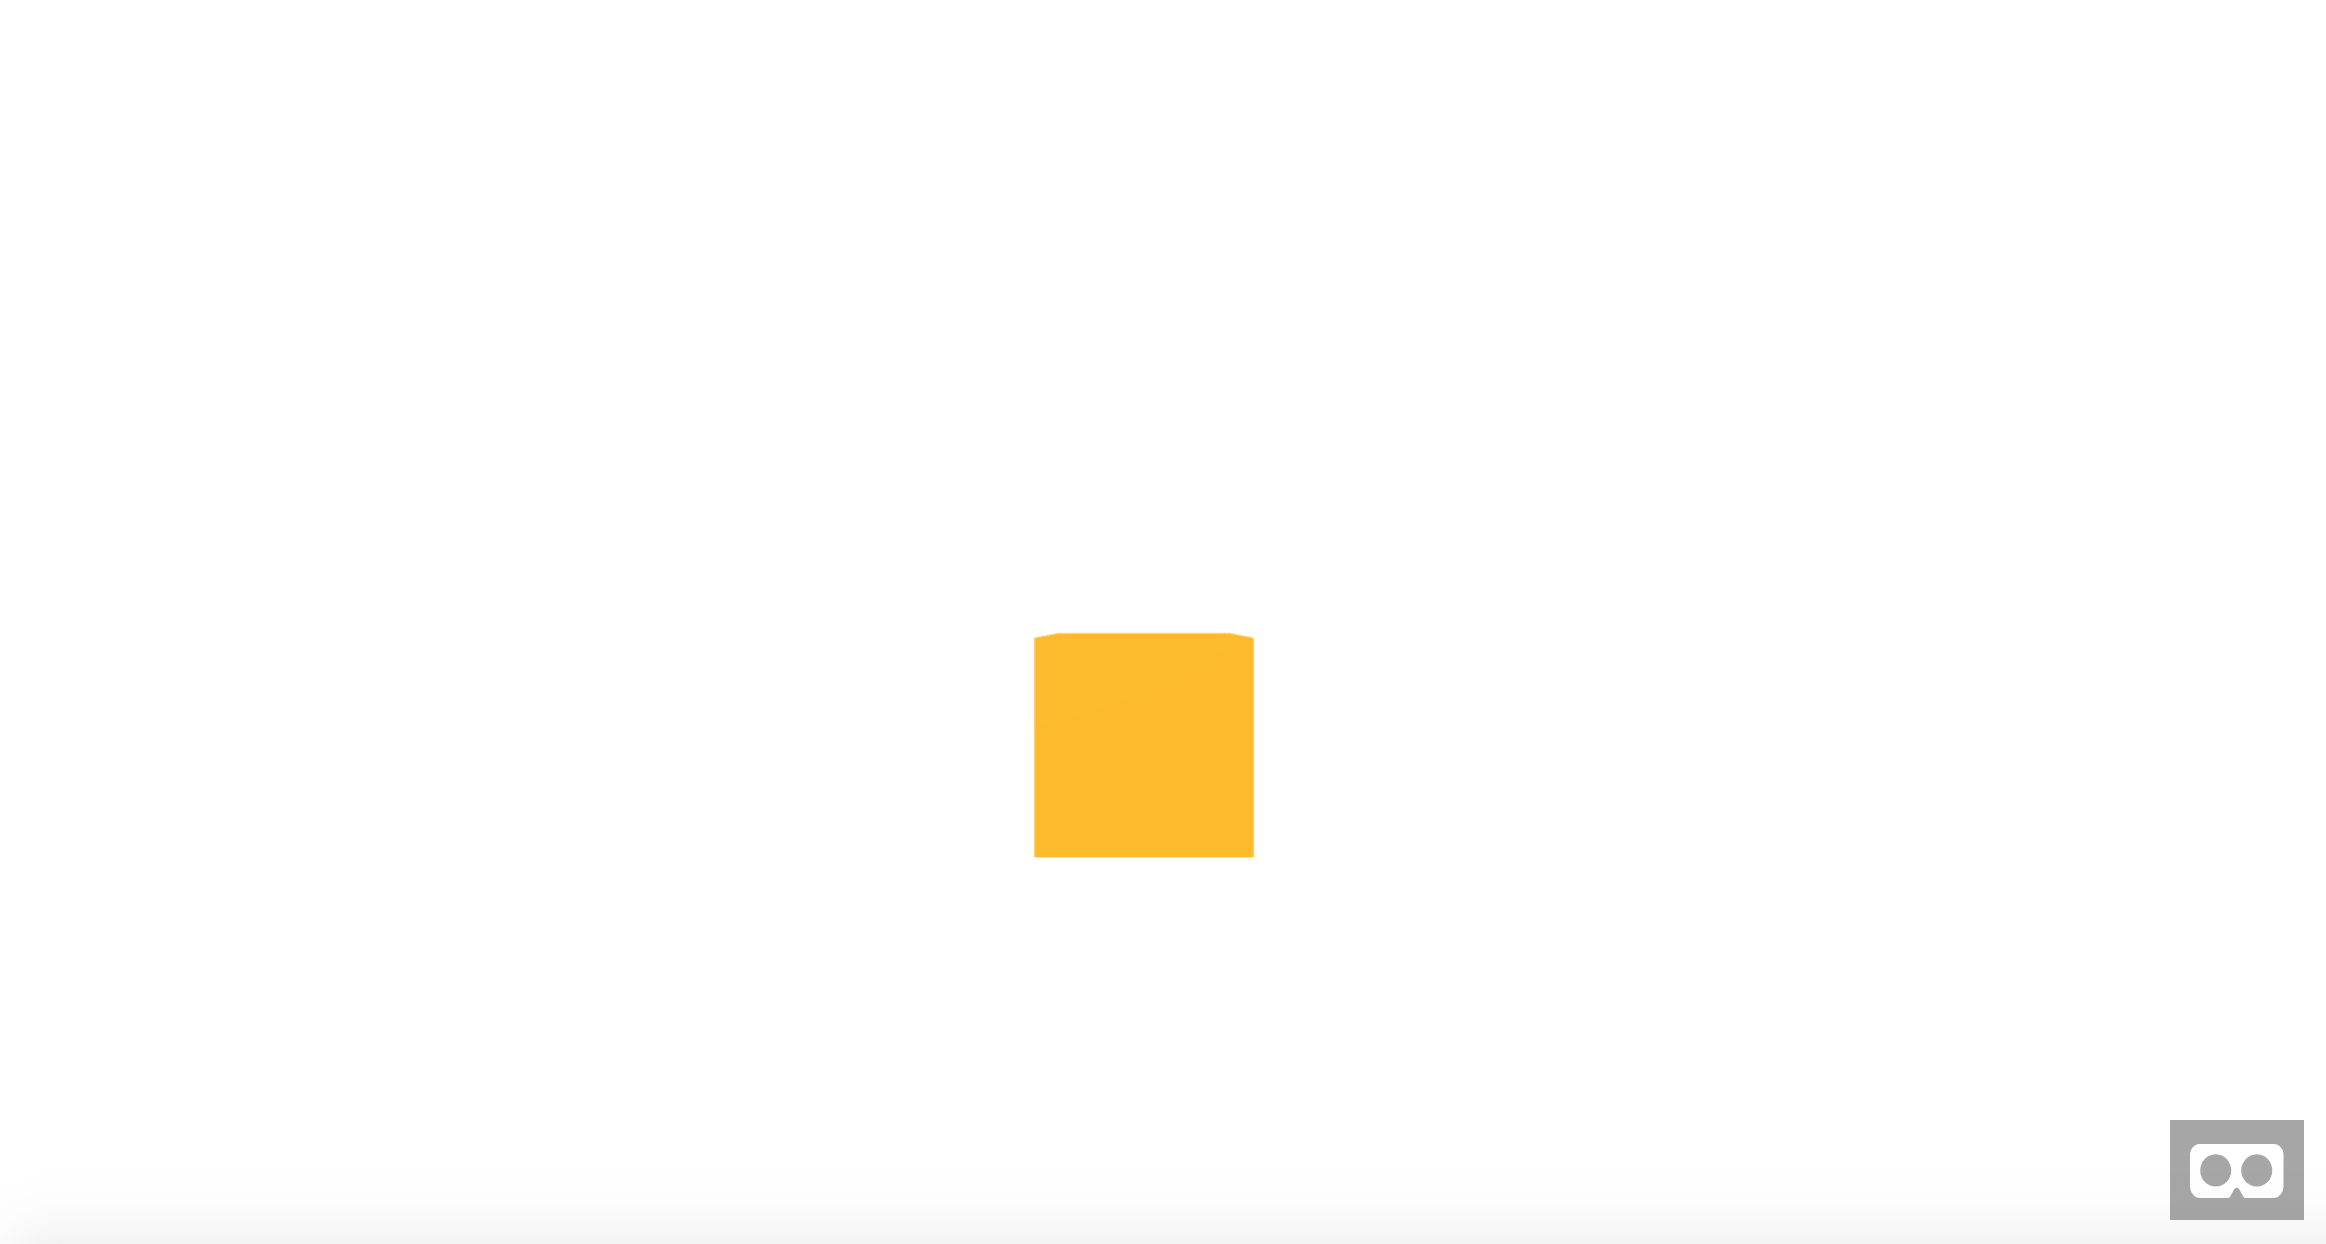
You can view your project by clicking on "Show" in the upper left corner of the page. In non-VR, you can use arrow keys to move. Click and drag the page to look around. It should look like this:
9. Add a small blue sphere to your scene to the right of the box, and add a large red cone behind the box:
<head>
<script src="https://aframe.io/releases/0.9.2/aframe.min.js"></script>
</head>
<body>
<a-scene>
<a-box color="orange" position="0 0 -4"></a-box>
<a-sphere color="blue" scale=".2 .2 .2" position="3 .1 -4"></a-sphere>
<a-cone color="red" scale="4 4 4" position="-2 2 -8"></a-cone>
</a-scene>
</body>
10. Add a plane for the floor:
<head>
<script src="https://aframe.io/releases/0.9.2/aframe.min.js"></script>
</head>
<body>
<a-scene>
<a-box color="orange" position="0 0 -4"></a-box>
<a-sphere color="blue" scale=".2 .2 .2" position="3 .1 -4"></a-sphere>
<a-cone color="red" scale="4 4 4" position="-2 2 -8"></a-cone>
<a-plane color="lime" scale="5 5" rotation="-90 0 0" position="0 0 -4"></a-plane>
</a-scene>
</body>
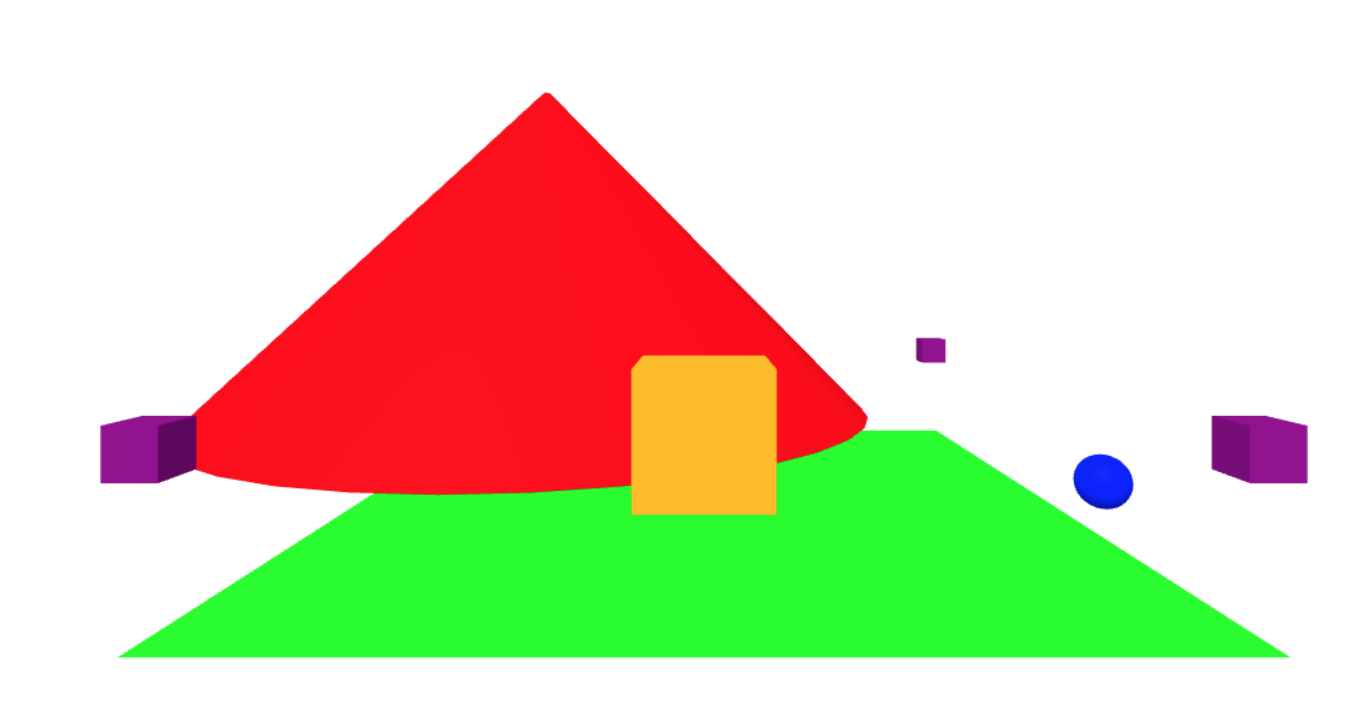
Your webpage should now look like this:
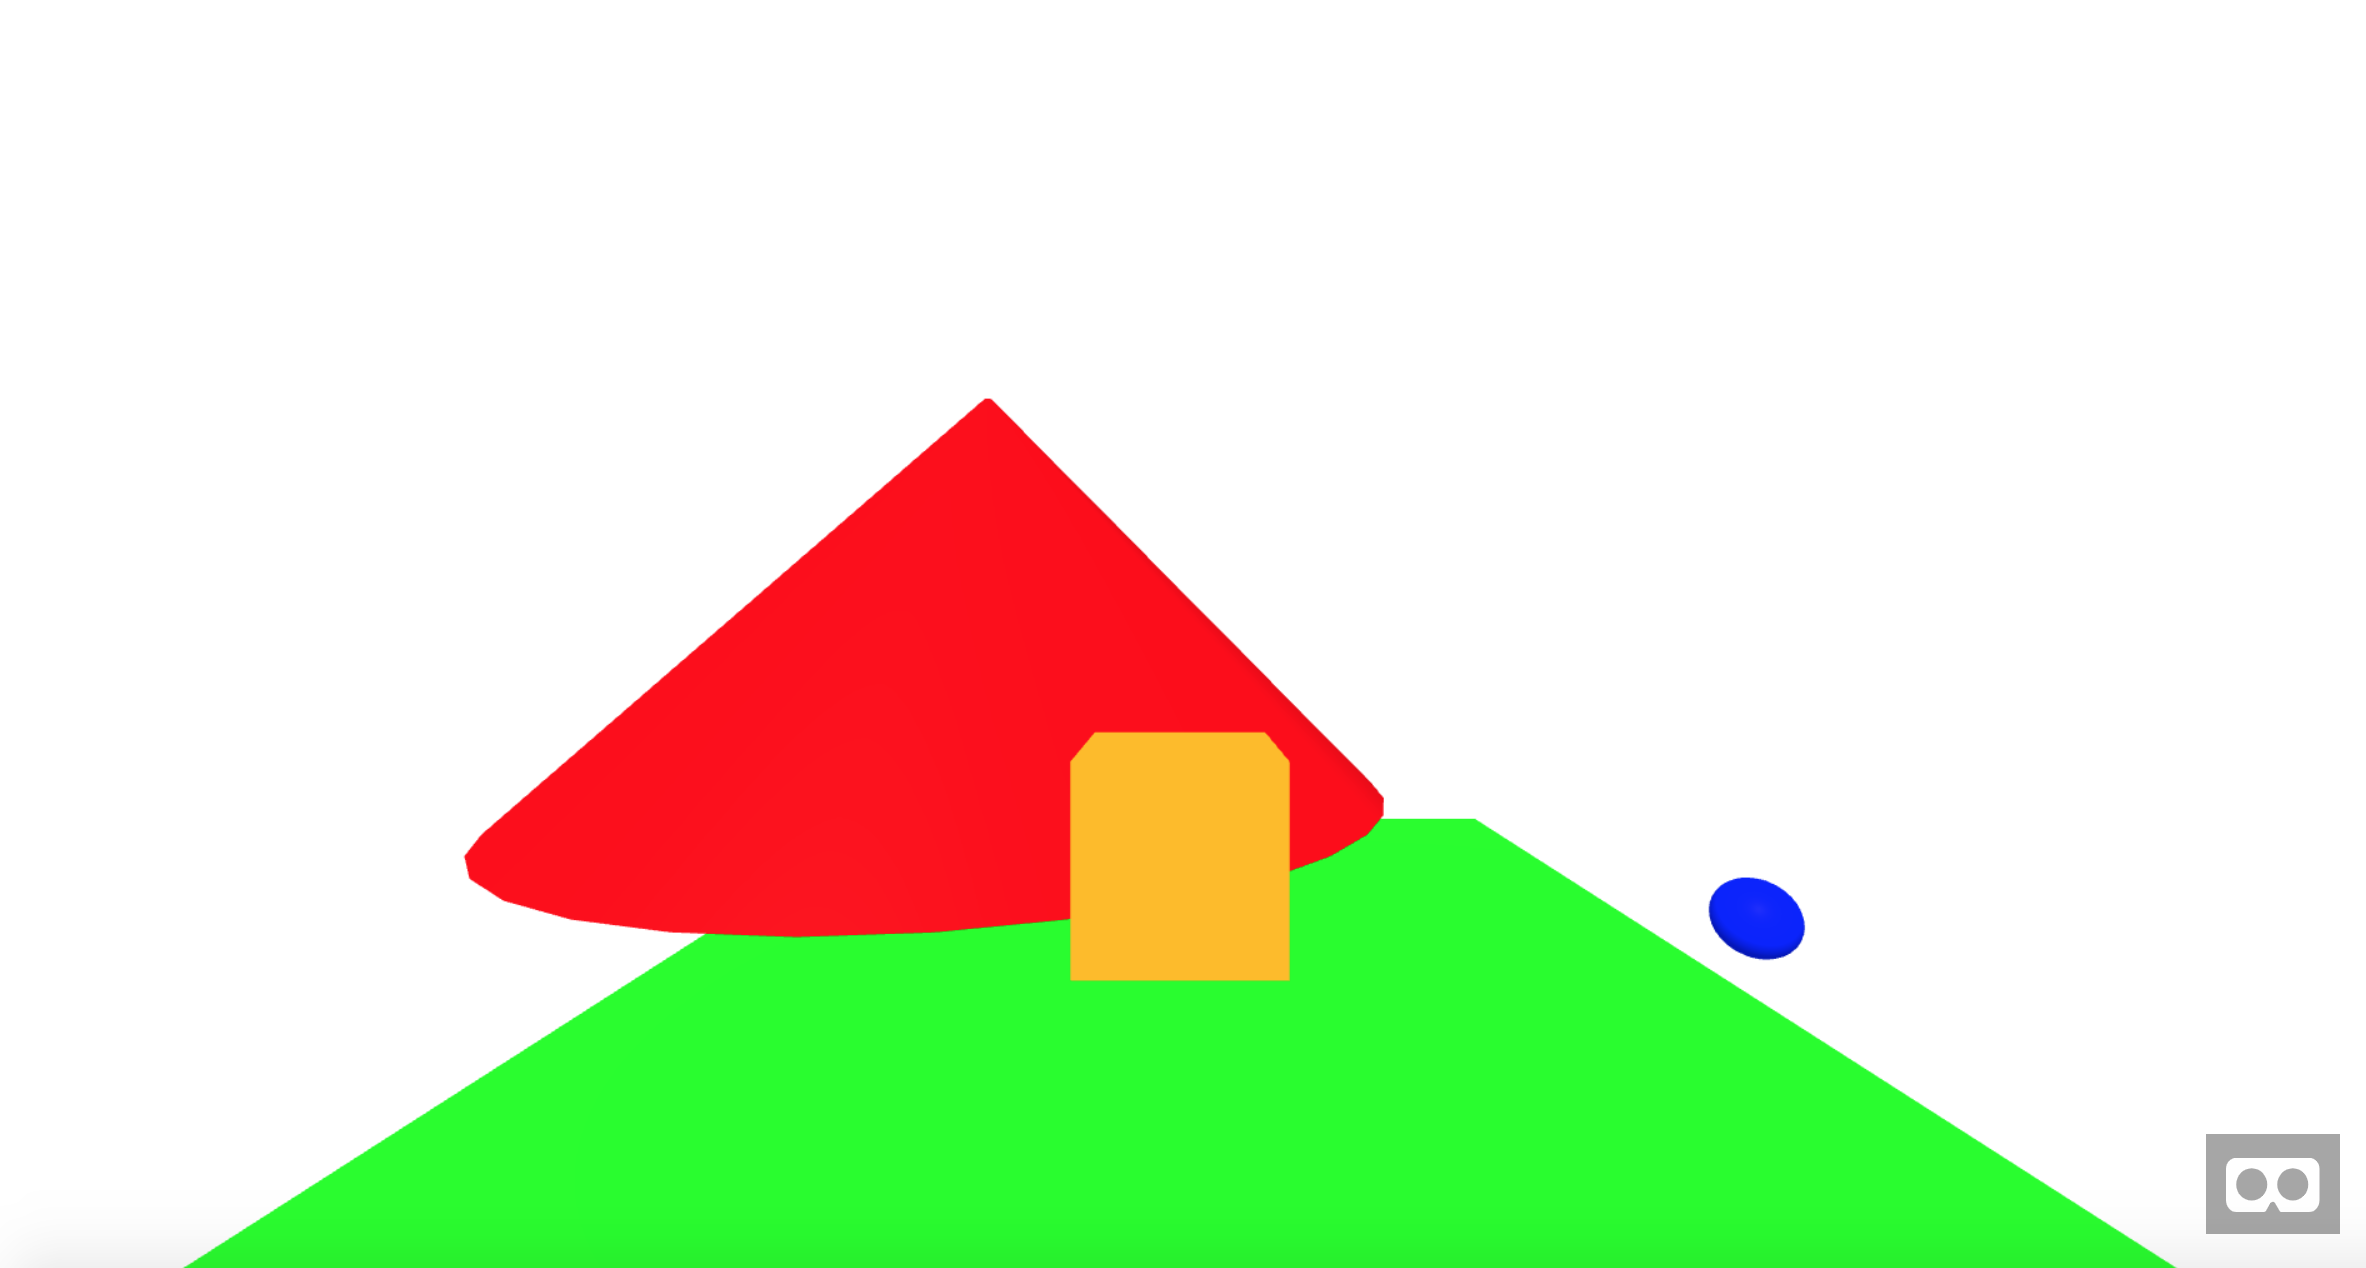
You can see how your project looks in VR by going to its URL in the browser in a VR headset.
In VR, you will not be able to move around yet.
Add the controller
11. Add an entity to the scene with the ID "rig":
<head>
<script src="https://aframe.io/releases/0.9.2/aframe.min.js"></script>
</head>
<body>
<a-scene>
<a-box color="orange" position="0 0 -4"></a-box>
<a-sphere color="blue" scale=".2 .2 .2" position="3 .1 -4"></a-sphere>
<a-cone color="red" scale="4 4 4" position="-2 2 -8"></a-cone>
<a-plane color="lime" scale="5 5" rotation="-90 0 0" position="0 0 -4"></a-plane>
<a-entity id="rig">
</a-entity>
</a-scene>
</body>
12. Add a camera between the rig entity tags:
<head>
<script src="https://aframe.io/releases/0.9.2/aframe.min.js"></script>
</head>
<body>
<a-scene>
<a-box color="orange" position="0 0 -4"></a-box>
<a-sphere color="blue" scale=".2 .2 .2" position="3 .1 -4"></a-sphere>
<a-cone color="red" scale="4 4 4" position="-2 2 -8"></a-cone>
<a-plane color="lime" scale="5 5" rotation="-90 0 0" position="0 0 -4"></a-plane>
<a-entity id="rig">
<a-camera></a-camera>
</a-entity>
</a-scene>
</body>
13. Add a controller between the rig entity tags:
<head>
<script src="https://aframe.io/releases/0.9.2/aframe.min.js"></script>
</head>
<body>
<a-scene>
<a-box color="orange" position="0 0 -4"></a-box>
<a-sphere color="blue" scale=".2 .2 .2" position="3 .1 -4"></a-sphere>
<a-cone color="red" scale="4 4 4" position="-2 2 -8"></a-cone>
<a-plane color="lime" scale="5 5" rotation="-90 0 0" position="0 0 -4"></a-plane>
<a-entity id="rig">
<a-camera></a-camera>
<a-entity laser-controls></a-entity>
</a-entity>
</a-scene>
</body>
Now, when you go to your webpage in VR, you will be able to see the controller, and it will have a line coming out the front.
Add a checkpoint function
14. Add some objects around the scene to act as checkpoints. You will move to their location when you click on them.
<head>
<script src="https://aframe.io/releases/0.9.2/aframe.min.js"></script>
</head>
<body>
<a-scene>
<a-box color="orange" position="0 0 -4"></a-box>
<a-sphere color="blue" scale=".2 .2 .2" position="3 .1 -4"></a-sphere>
<a-cone color="red" scale="4 4 4" position="-2 2 -8"></a-cone>
<a-plane color="lime" scale="5 5" rotation="-90 0 0" position="0 0 -4"></a-plane>
<a-box checkpoint color="purple" scale=".2 .2 .2" position="-2 1 -1"></a-box>
<a-box checkpoint color="purple" scale=".2 .2 .2" position="2 1 -1"></a-box>
<a-box checkpoint color="purple" scale=".2 .2 .2" position="2 1 -5"></a-box>
<a-entity id="rig">
<a-camera></a-camera>
<a-entity laser-controls></a-entity>
</a-entity>
</a-scene>
</body>
15. Between the head tags, add script tags. This is where the javascript will go:
<head>
<script src="https://aframe.io/releases/0.9.2/aframe.min.js"></script>
<script>
</script>
</head>
<body>
<a-scene>
<a-box color="orange" position="0 0 -4"></a-box>
<a-sphere color="blue" scale=".2 .2 .2" position="3 .1 -4"></a-sphere>
<a-cone color="red" scale="4 4 4" position="-2 2 -8"></a-cone>
<a-plane color="lime" scale="5 5" rotation="-90 0 0" position="0 0 -4"></a-plane>
<a-box checkpoint color="purple" scale=".2 .2 .2" position="-2 1 -1"></a-box>
<a-box checkpoint color="purple" scale=".2 .2 .2" position="2 1 -1"></a-box>
<a-box checkpoint color="purple" scale=".2 .2 .2" position="2 1 -5"></a-box>
<a-entity id="rig">
<a-camera></a-camera>
<a-entity laser-controls></a-entity>
</a-entity>
</a-scene>
</body>
16. Between the script tags, add the following function:
<head>
<script src="https://aframe.io/releases/0.9.2/aframe.min.js"></script>
<script>
AFRAME.registerComponent('checkpoint', {
init: function () {
var el = this.el;
el.addEventListener('click', function () {
document.querySelector('#rig').object3D.position.x = el.object3D.position.x;
document.querySelector('#rig').object3D.position.z = el.object3D.position.z;
});
}
});
</script>
</head>
<body>
<a-scene>
<a-box color="orange" position="0 0 -4"></a-box>
<a-sphere color="blue" scale=".2 .2 .2" position="3 .1 -4"></a-sphere>
<a-cone color="red" scale="4 4 4" position="-2 2 -8"></a-cone>
<a-plane color="lime" scale="5 5" rotation="-90 0 0" position="0 0 -4"></a-plane>
<a-box checkpoint color="purple" scale=".2 .2 .2" position="-2 1 -1"></a-box>
<a-box checkpoint color="purple" scale=".2 .2 .2" position="2 1 -1"></a-box>
<a-box checkpoint color="purple" scale=".2 .2 .2" position="2 1 -5"></a-box>
<a-entity id="rig">
<a-camera></a-camera>
<a-entity laser-controls></a-entity>
</a-entity>
</a-scene>
</body>
Now when you're in VR, you can move around your scene by clicking on the checkpoints.
17. Finally, to make checkpoints clickable in the non-VR browser, add
cursor="rayOrigin:mouse"
inside the initial scene tag, so it looks like this:
<a-scene cursor="rayOrigin:mouse">
That concludes the tutorial. With less than 30 lines of code, you have made an interactive VR scene!
You can continue learning A-Frame by changing colors, shapes, and positions, adding objects and interactions to your scene, and checking out aframe.io.
Finished code
<head>
<script src="https://aframe.io/releases/0.9.2/aframe.min.js"></script>
<script>
AFRAME.registerComponent('checkpoint', {
init: function () {
var el = this.el;
el.addEventListener('click', function () {
document.querySelector('#rig').object3D.position.x = el.object3D.position.x;
document.querySelector('#rig').object3D.position.z = el.object3D.position.z;
});
}
});
</script>
</head>
<body>
<a-scene cursor="rayOrigin:mouse">
<a-box color="orange" position="0 .5 -4"></a-box>
<a-sphere color="blue" scale=".2 .2 .2" position="3 .1 -4"></a-sphere>
<a-cone color="red" scale="4 4 4" position="-2 2 -8"></a-cone>
<a-plane color="lime" scale="5 5" rotation="-90 0 0" position="0 0 -4"></a-plane>
<a-box checkpoint color="purple" scale=".2 .2 .2" position="-2 1 -1"></a-box>
<a-box checkpoint color="purple" scale=".2 .2 .2" position="2 1 -1"></a-box>
<a-box checkpoint color="purple" scale=".2 .2 .2" position="2 1 -5"></a-box>
<a-entity id="rig">
<a-camera></a-camera>
<a-entity laser-controls></a-entity>
</a-entity>
</a-scene>
</body>
For a slightly more advanced A-Frame example, check out
this project.
To learn more about A-Frame and VR, check out aframe.io.